

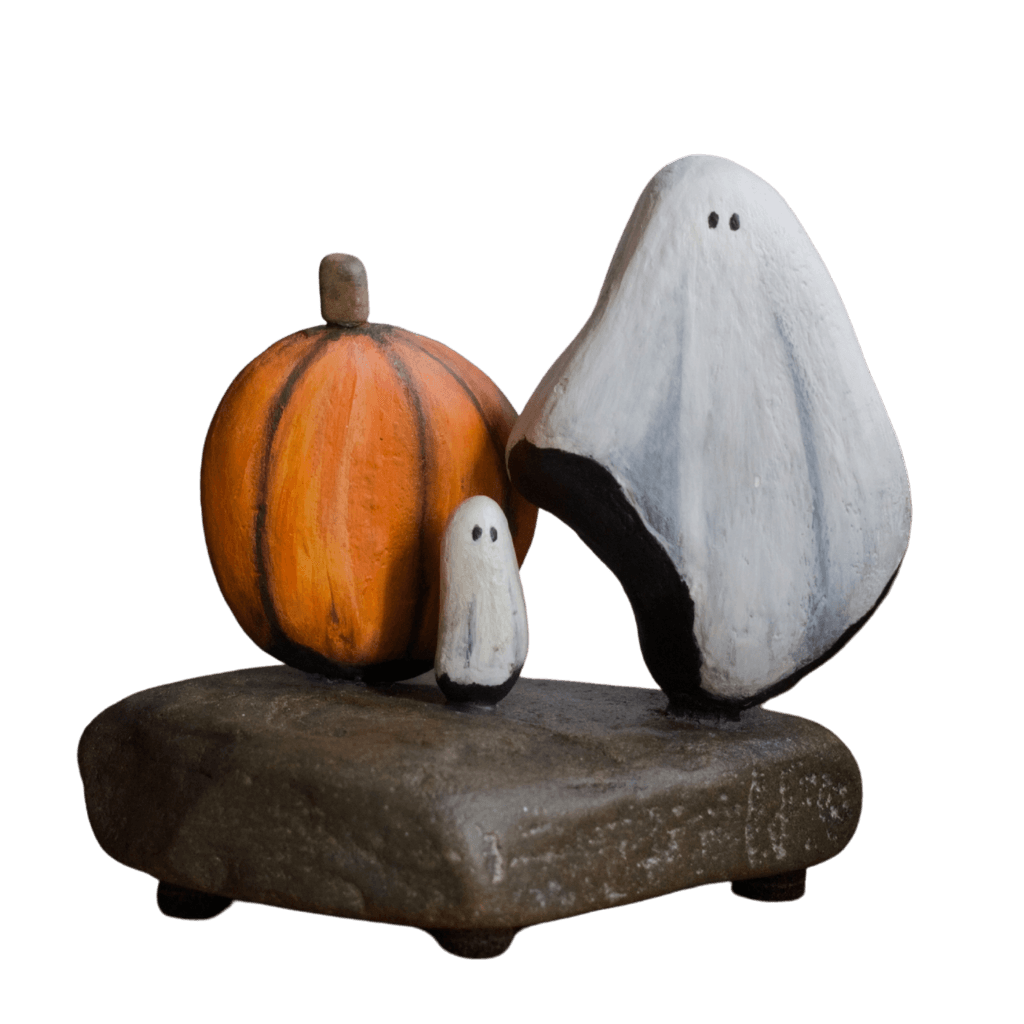
I’m all over the place, in life and art. Painting, burning, and lately, I’ve been drilling holes into rocks.
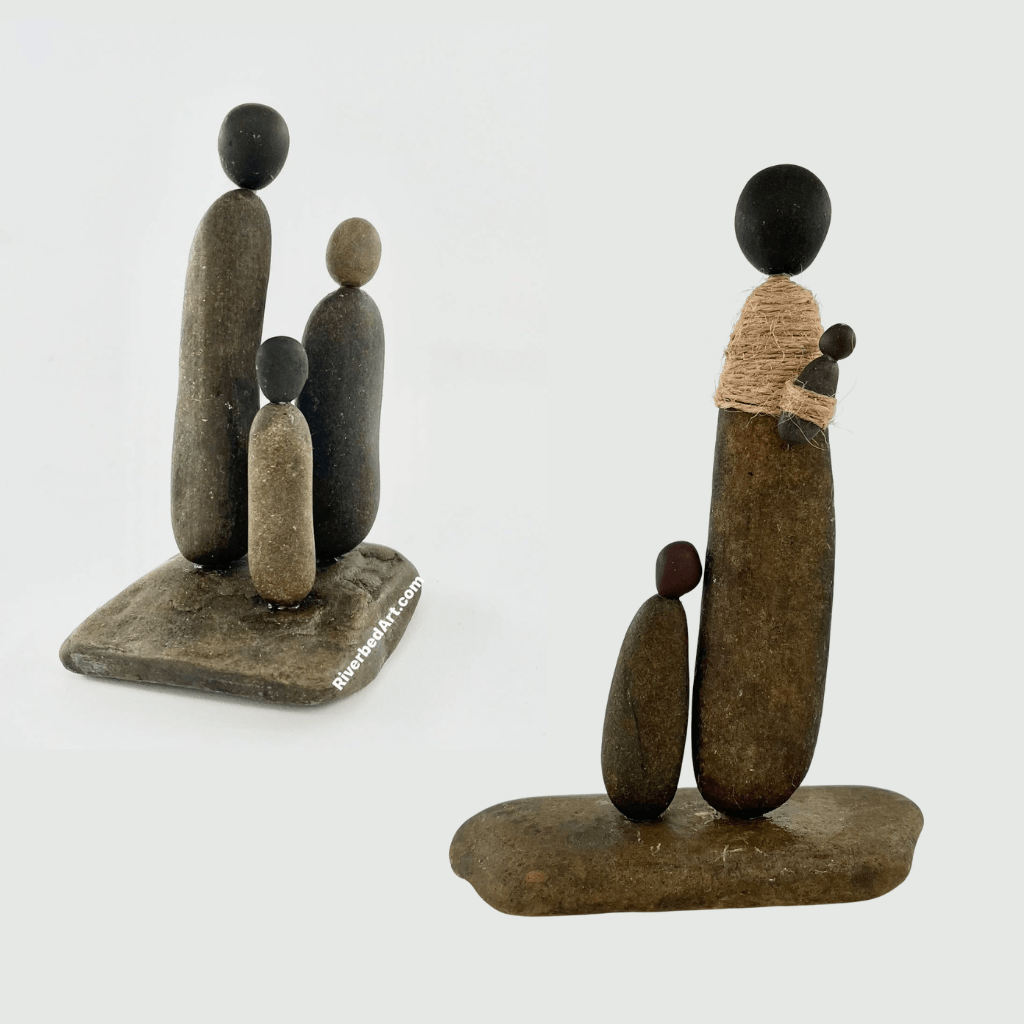
Not the flat ones for Christmas ornaments this time. I’ve been drilling into Aroostook River stones, fitting them together with steel pins and turning them into people. Couples, families, mothers and children, and, with Halloween approaching, a few Boos from Bou have appeared.
It All Started with Drawing and Driftwood
I started with drawing, which came in handy when I learned woodburning. Then Luc and I began collecting driftwood from the Aroostook River here in Caribou, Maine, and I had a new surface for both.
Sometimes the shape of the driftwood suggested what it could become. Other times, I brought an idea to it. That same back-and-forth has continued with river glass and now rocks.
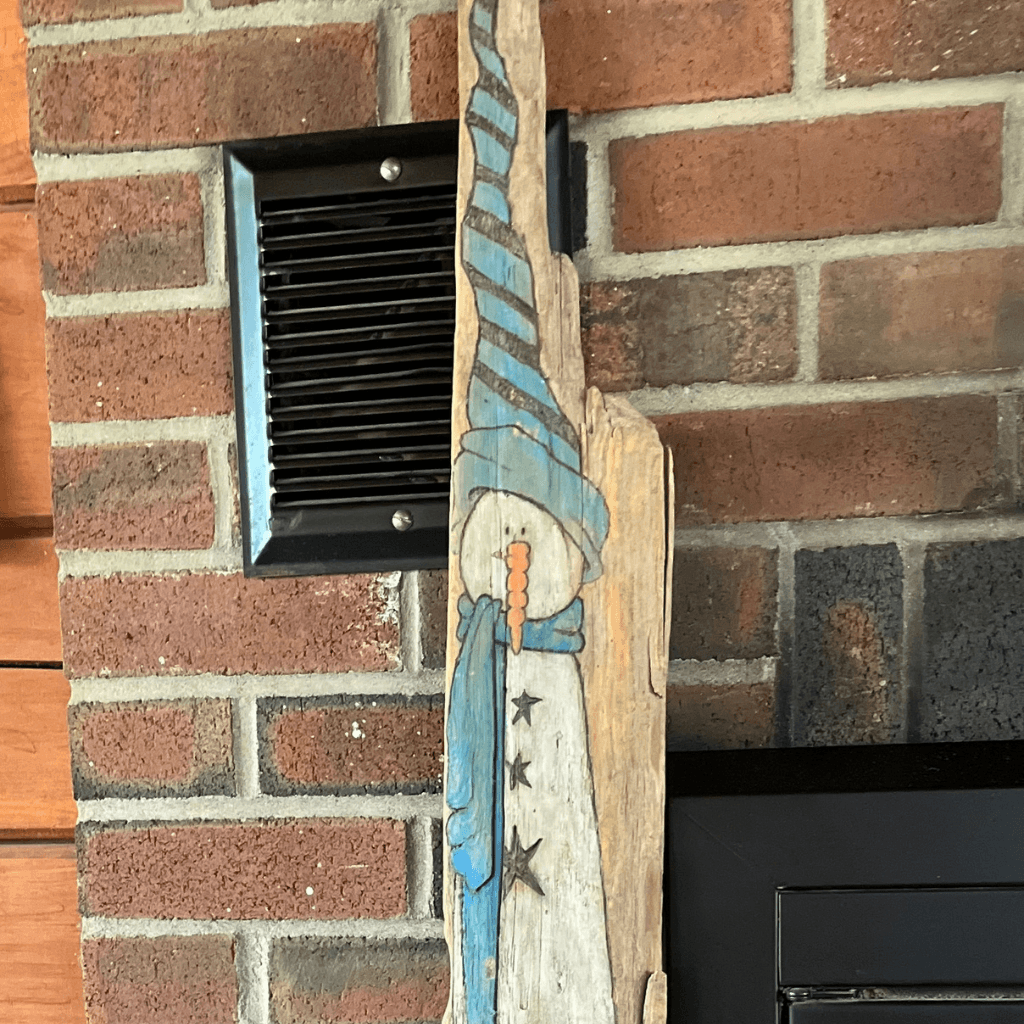
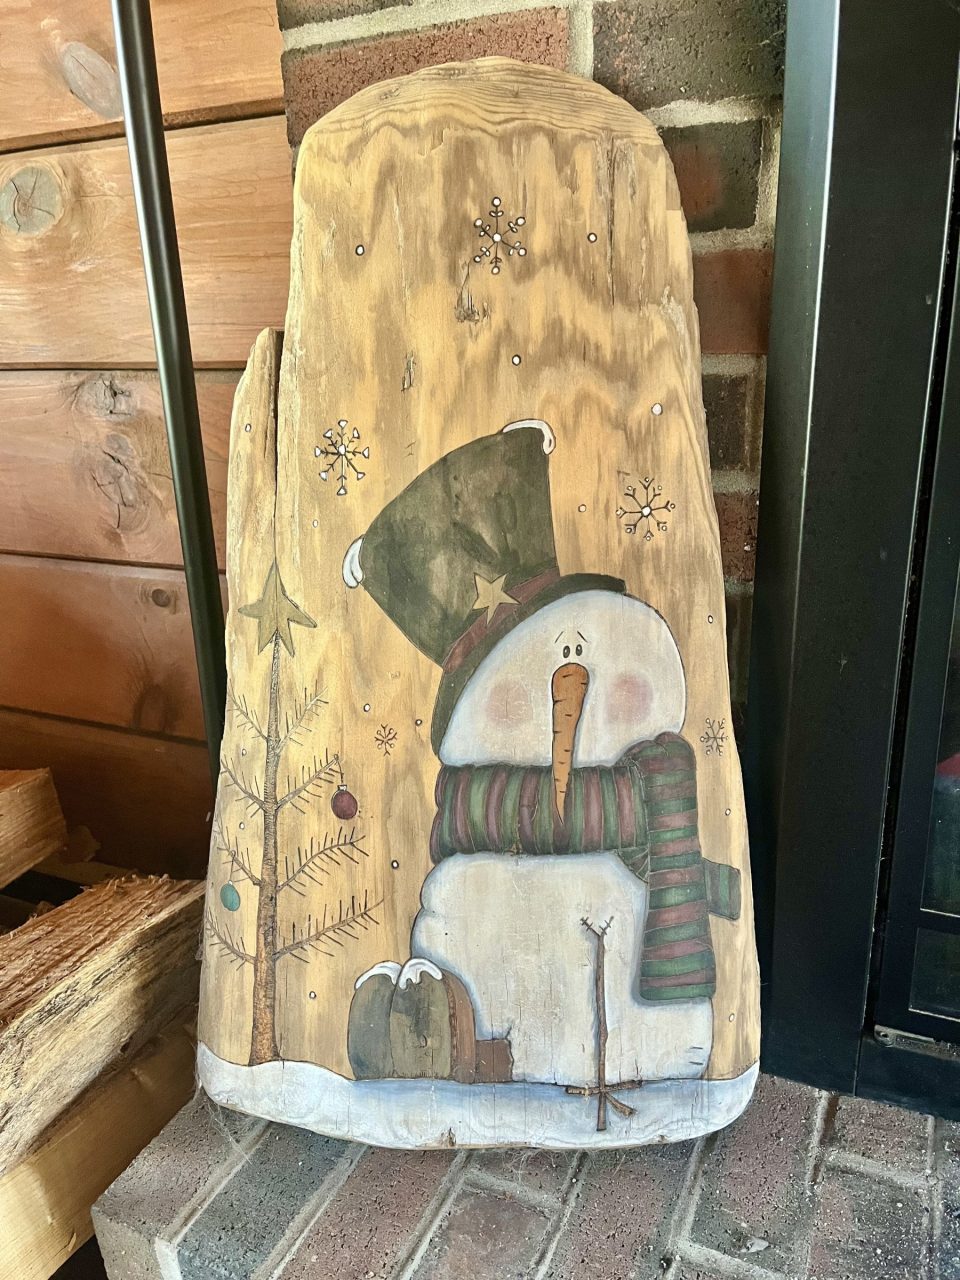
Of course, once you start looking at what’s along the river, it’s difficult to stop at driftwood. River glass, pottery, heart stones, clay, and tiny pebbles all started coming home with us. No worries, I haven’t hit hoarding level yet!

I started choosing little pebbles and pieces of river glass for their shapes and incorporating them into my Aroostook River Illustrations. Pebbles became people, pets, golf balls, and other little parts of a story. Glass became birds, trees, and flowers, with an illustration bringing everything together.
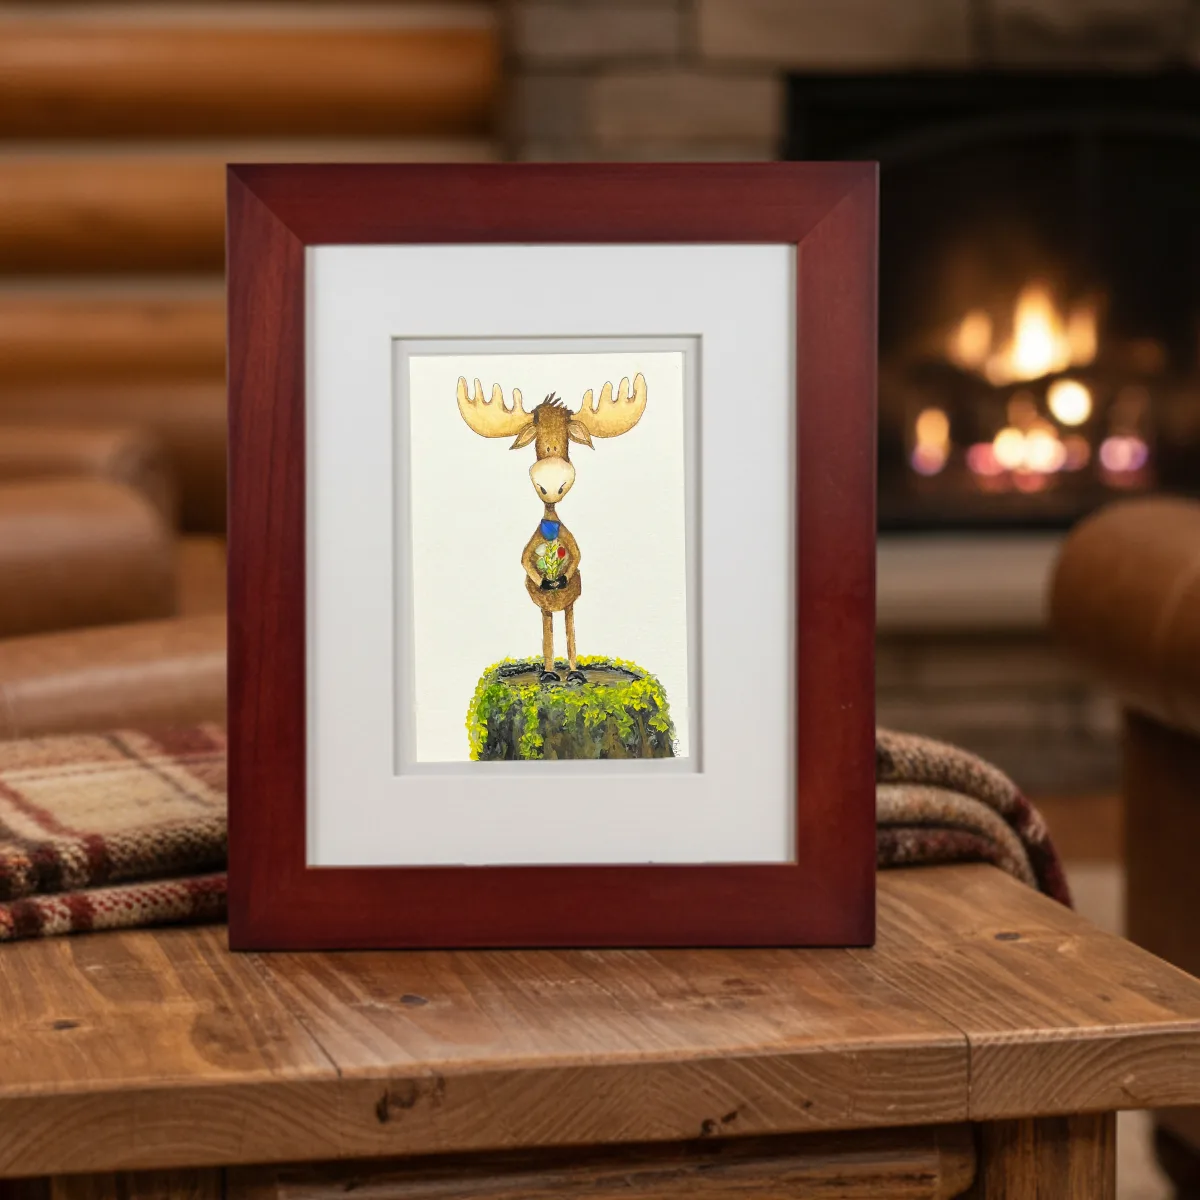
Sometimes several techniques end up in the same piece. Apparently, they like to mingle.

The mingling continued on birch slices collected from our property, in the ornaments I call Christmas Cookies.
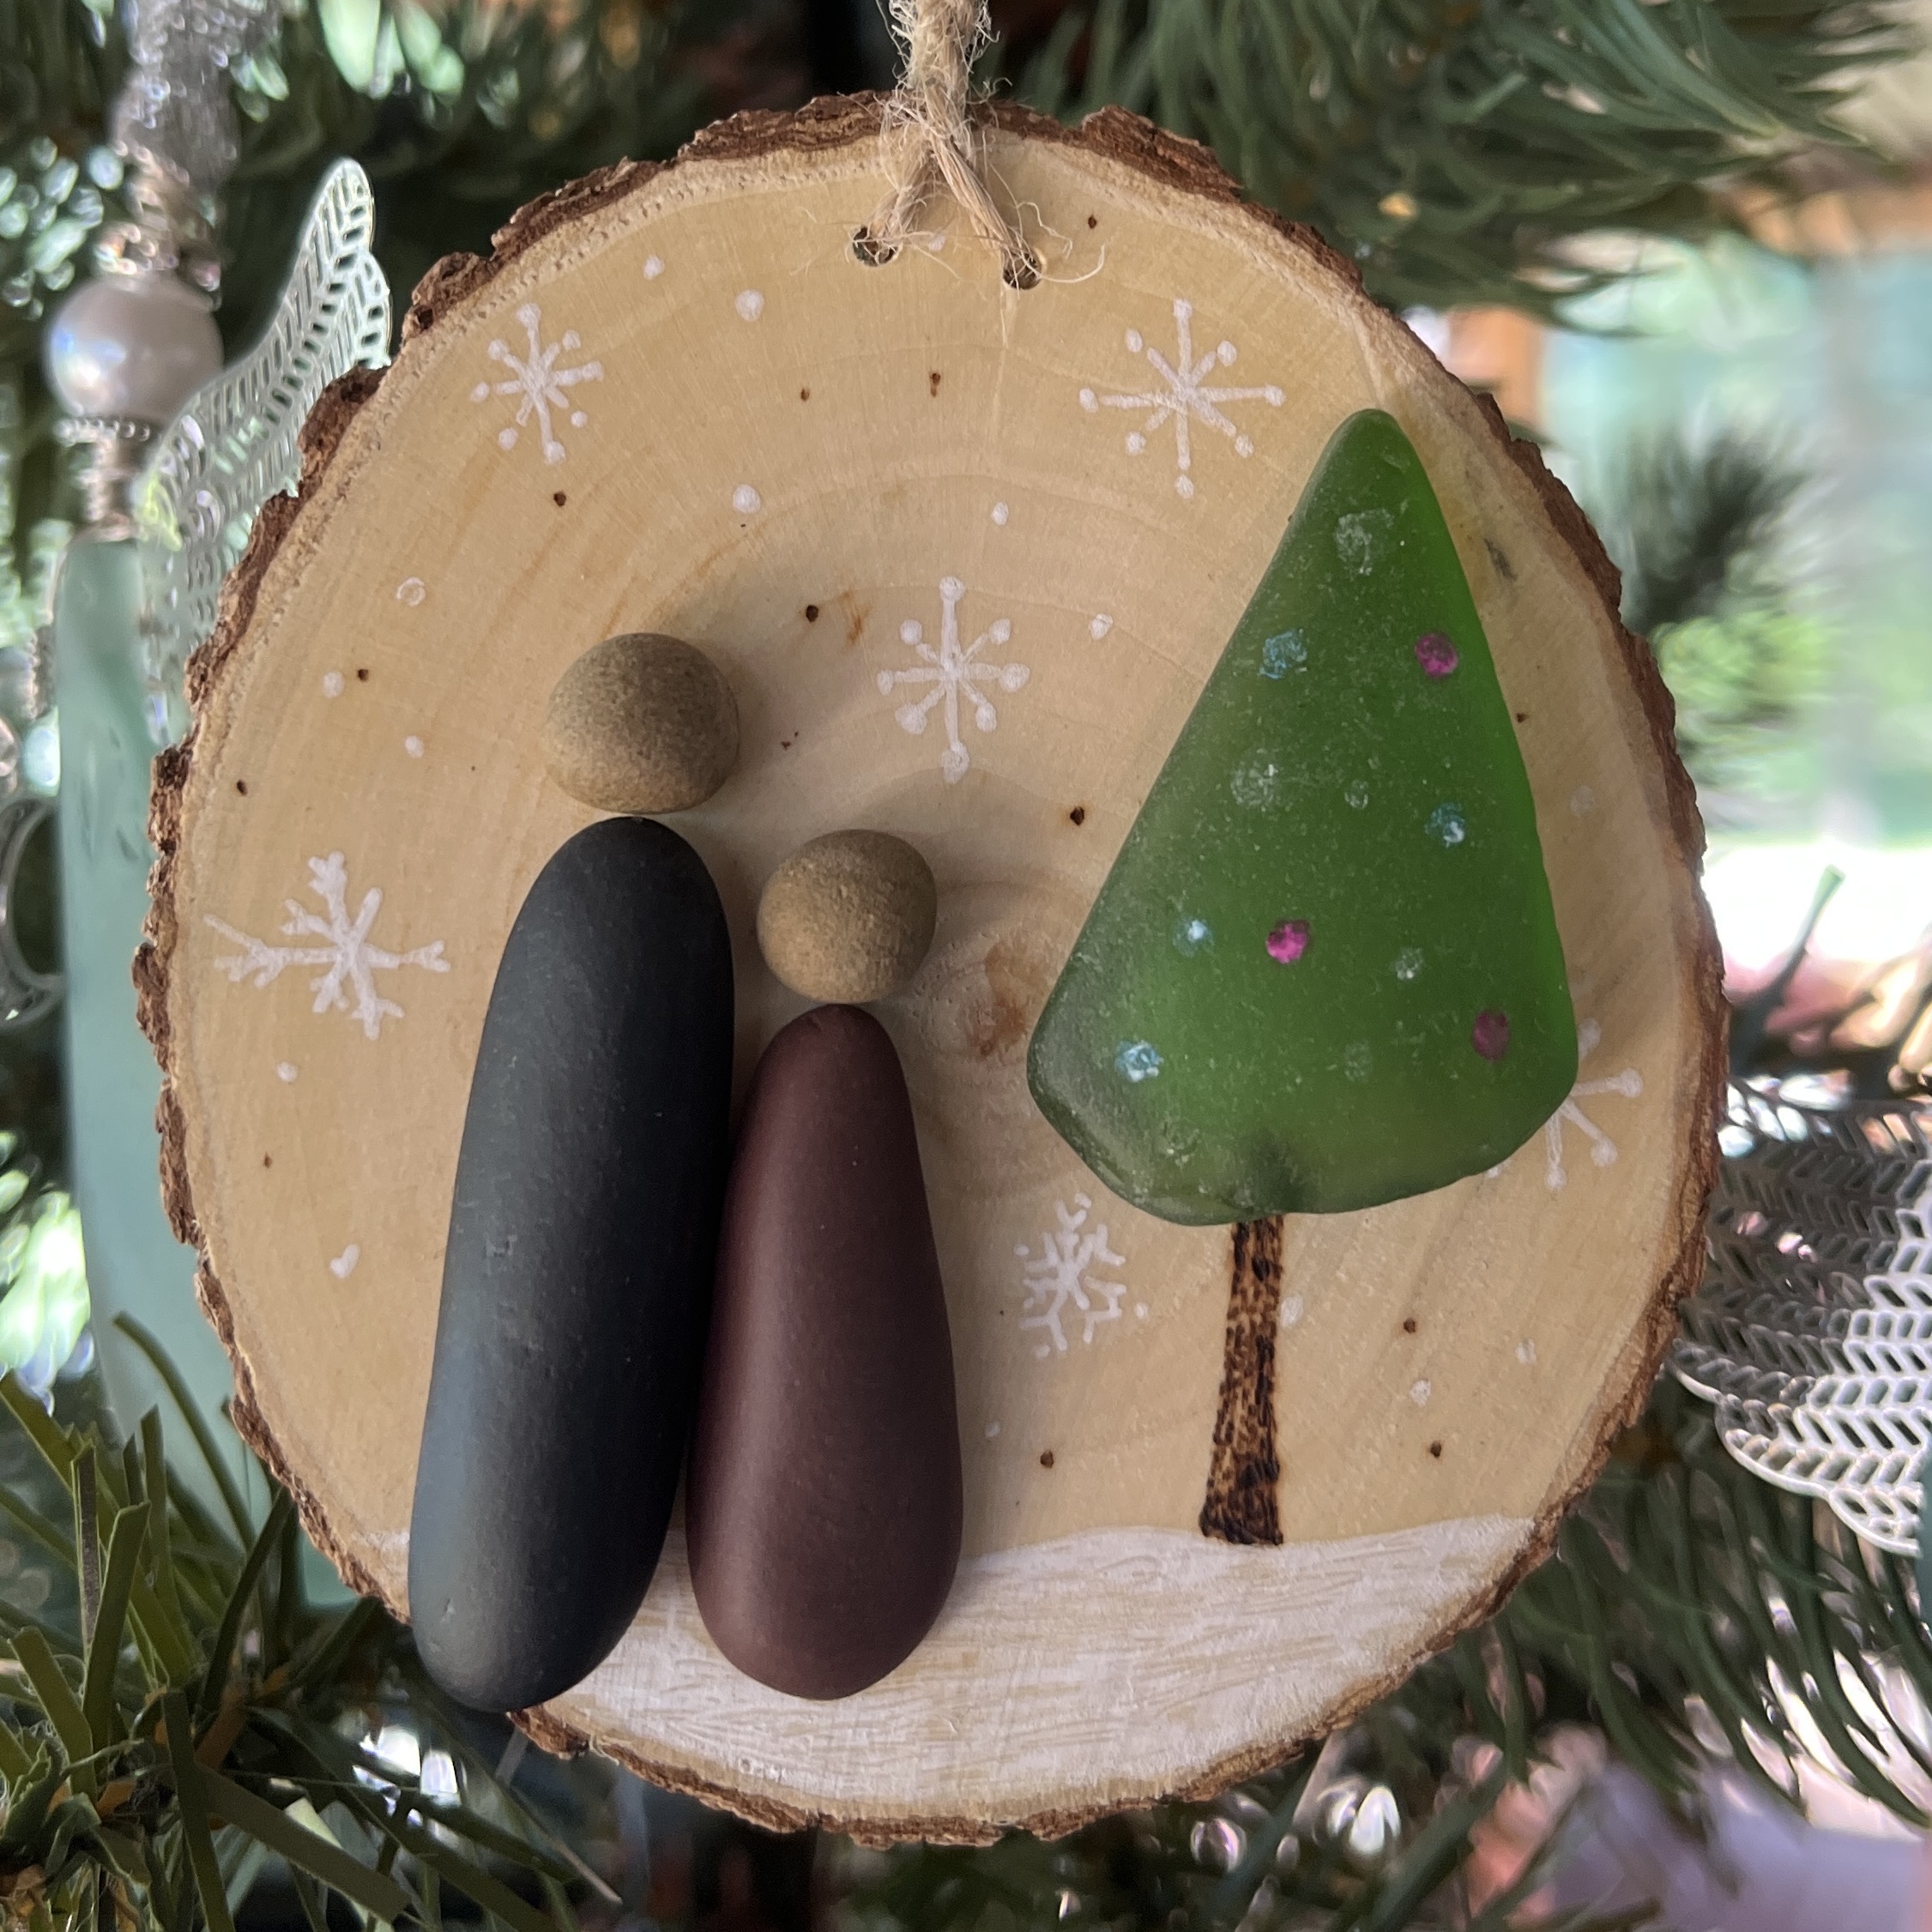
These Christmas Cookies are not edible. I feel this is worth repeating.
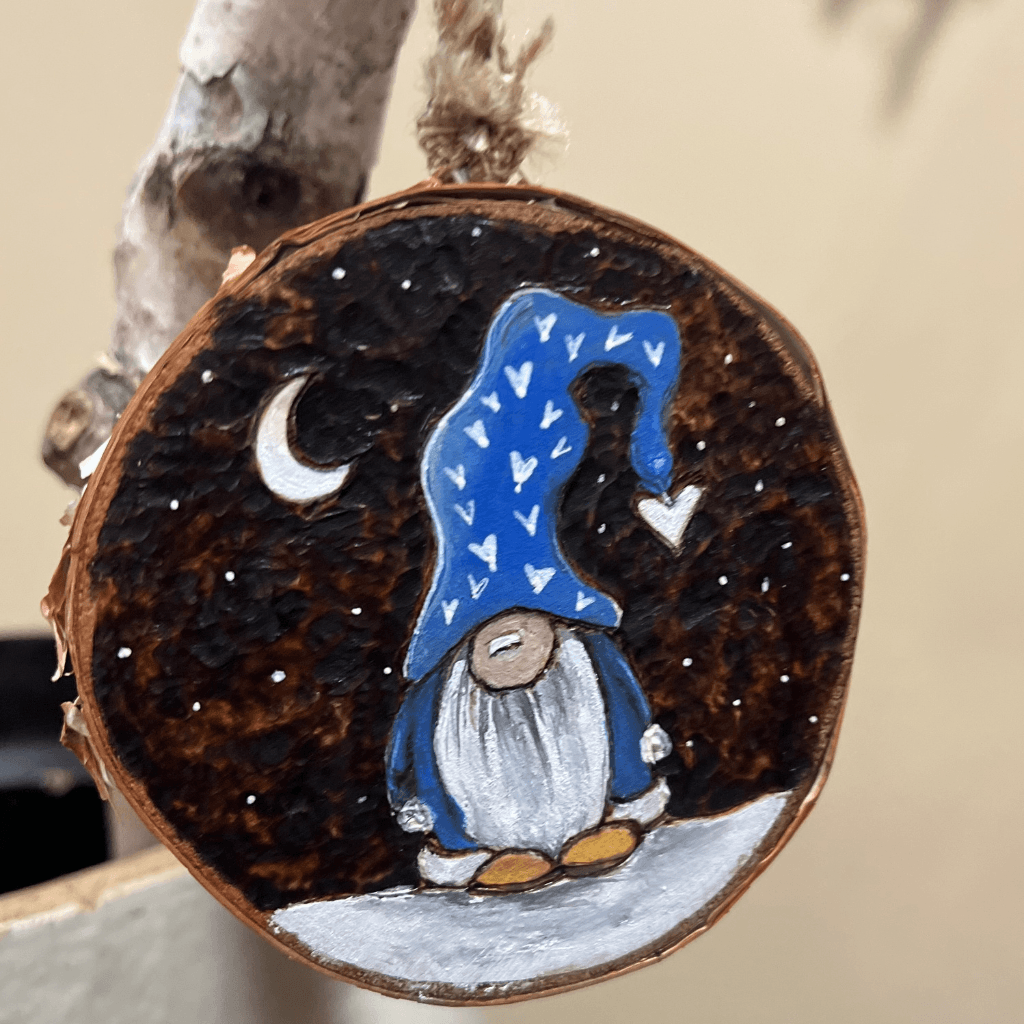
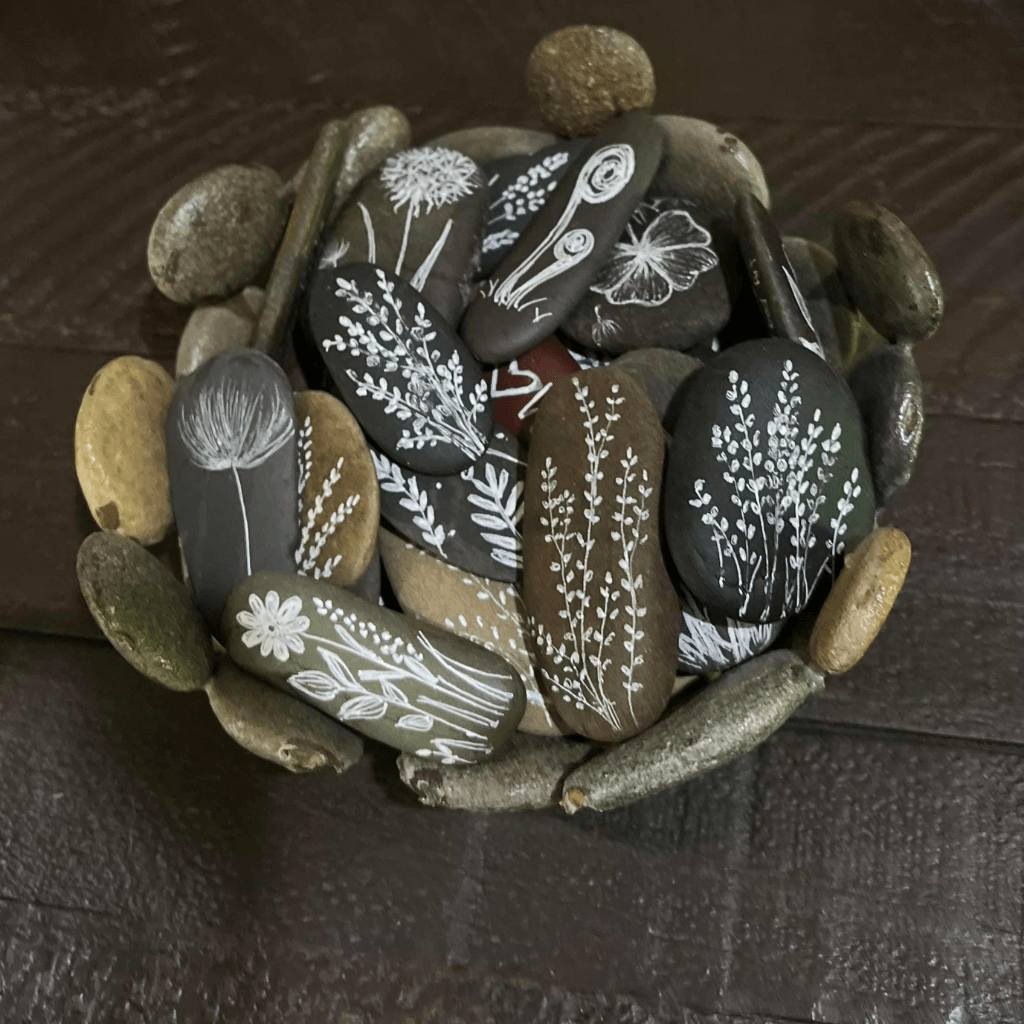
I also began illustrating directly on river stones, turning them into little canvases. Sometimes I leave them around the community for people to find, a little unexpected art to brighten someone’s day.
Drilling Became Part of the Artwork
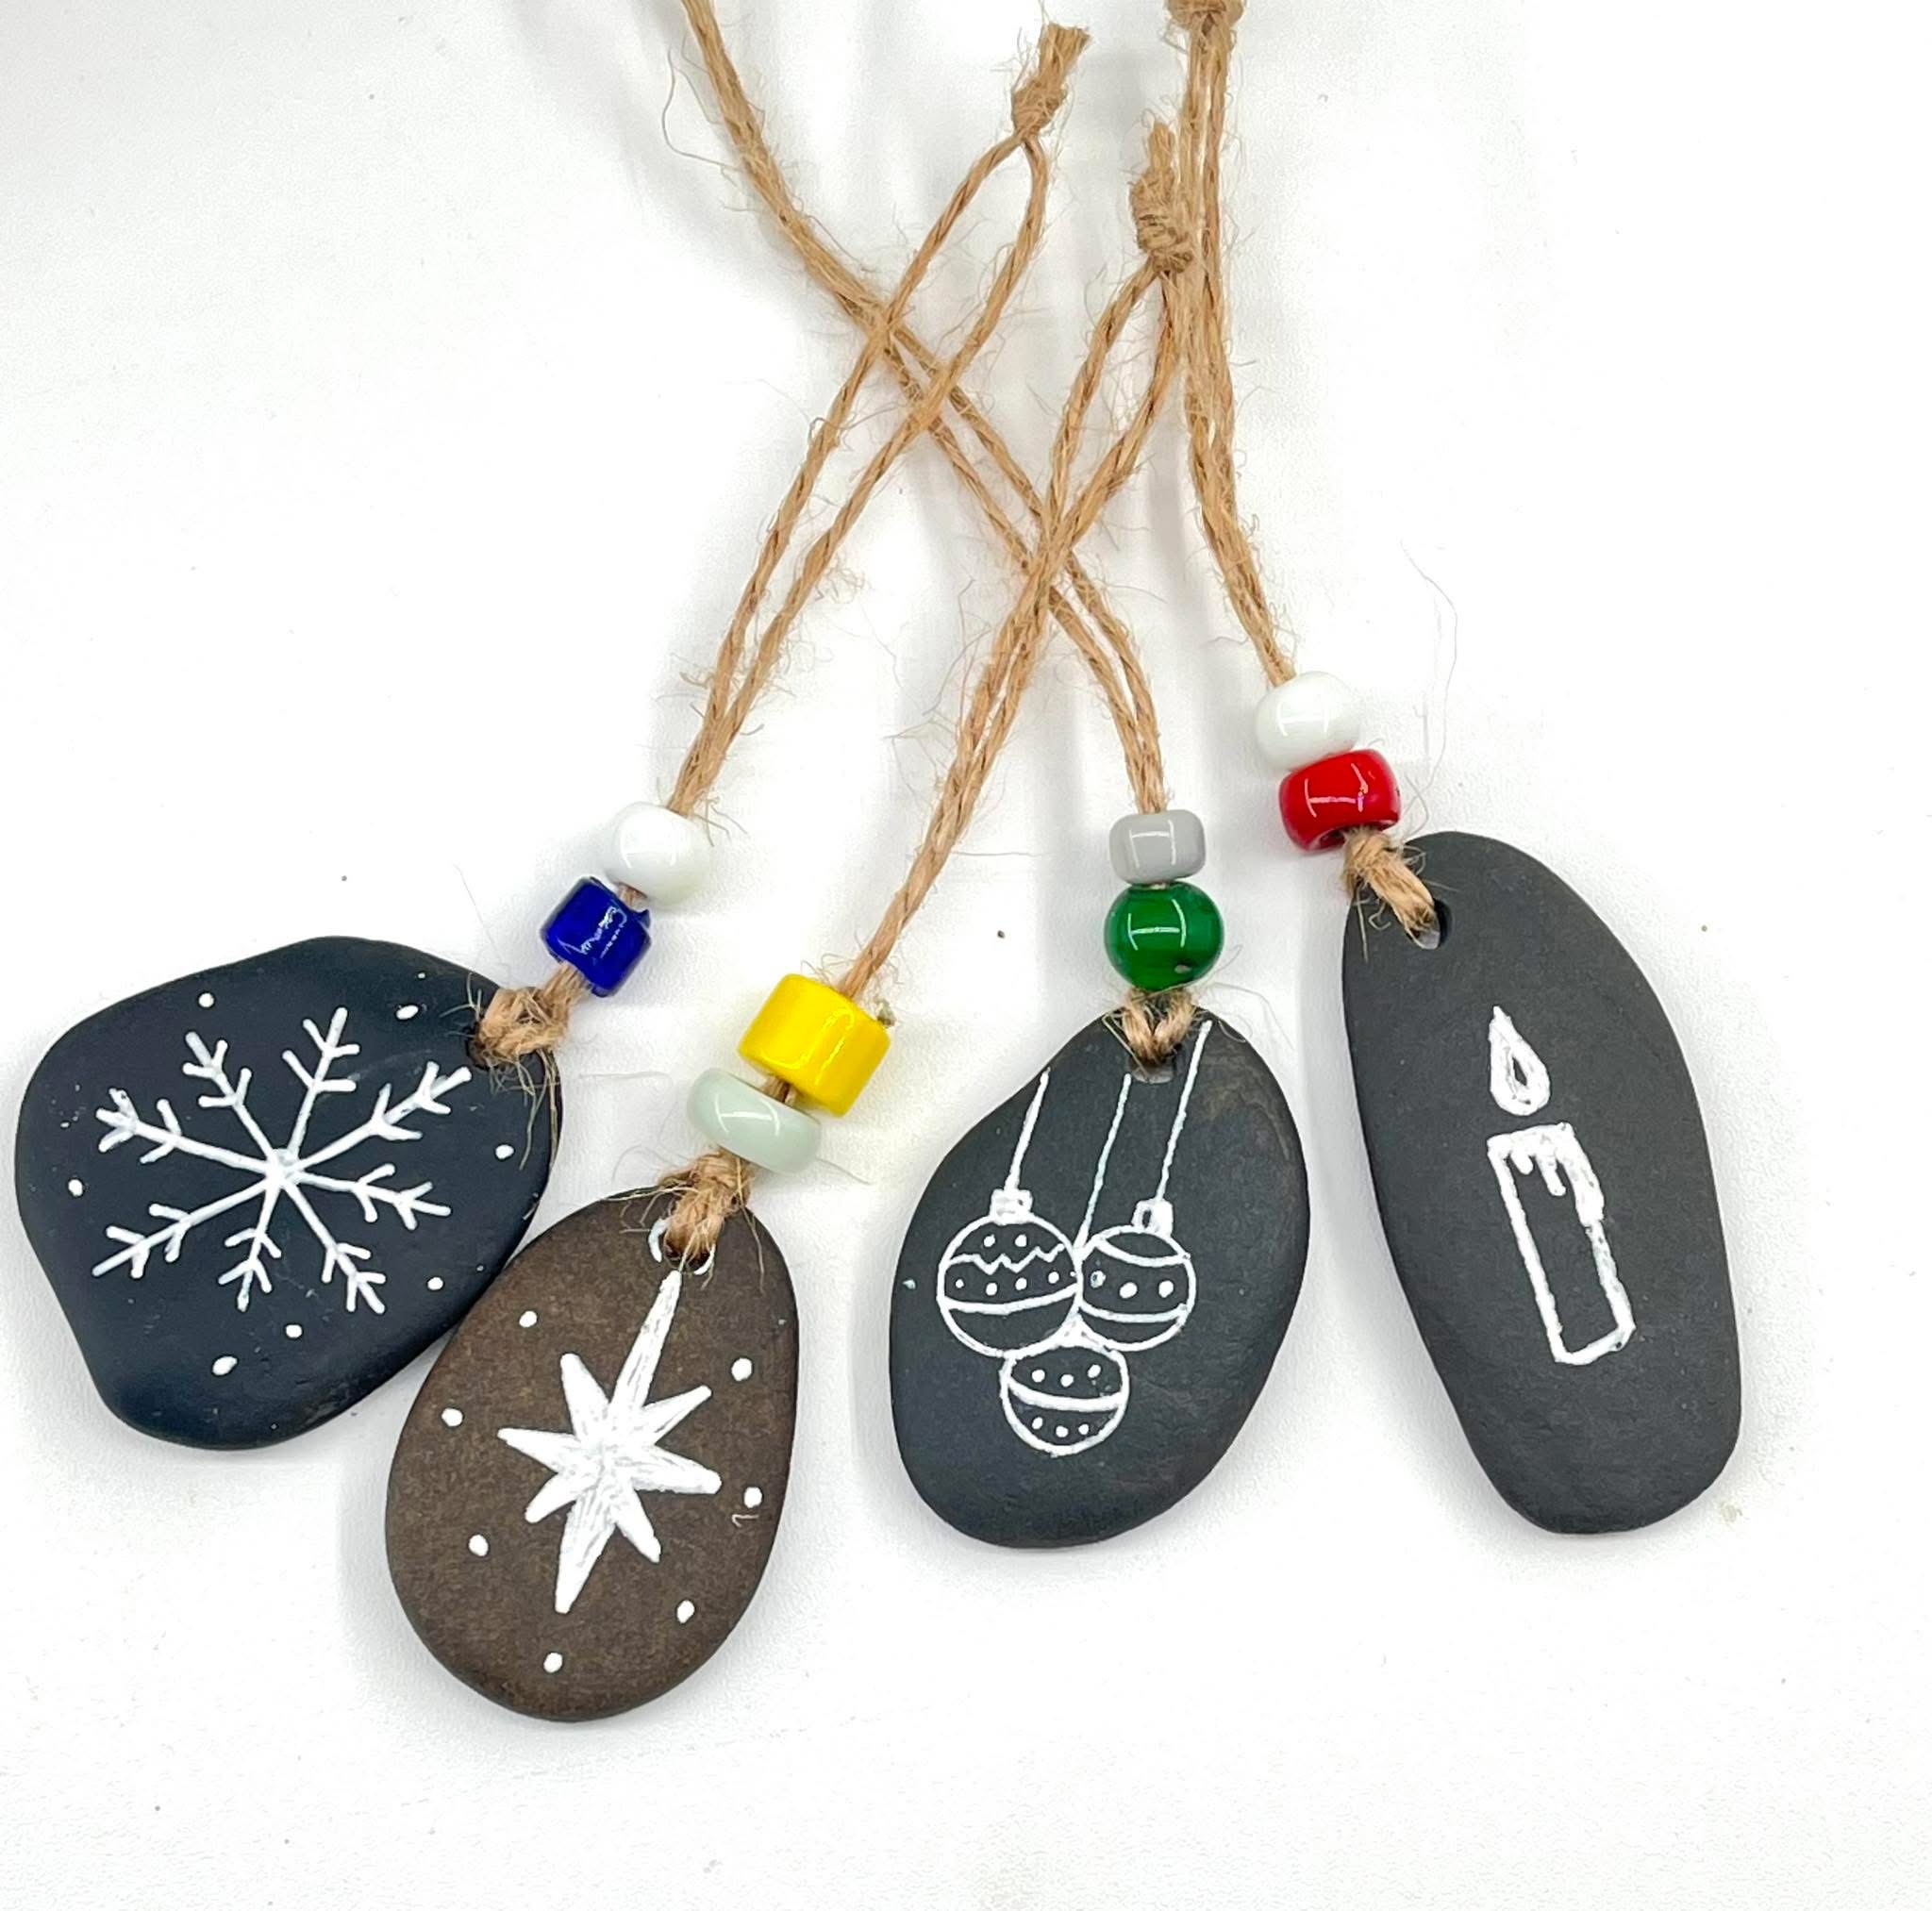
Learning to drill river glass led to Aroostook River Angels and then to drilling flat stones for Christmas ornaments.
Next came stone heads with driftwood bodies. I used a drill press, holding each pebble between my finger and thumb and drilling underwater. I couldn’t see what I was doing, so getting the hole in the right place was a guessing game. It was so tedious that I made very few and set the idea aside… until
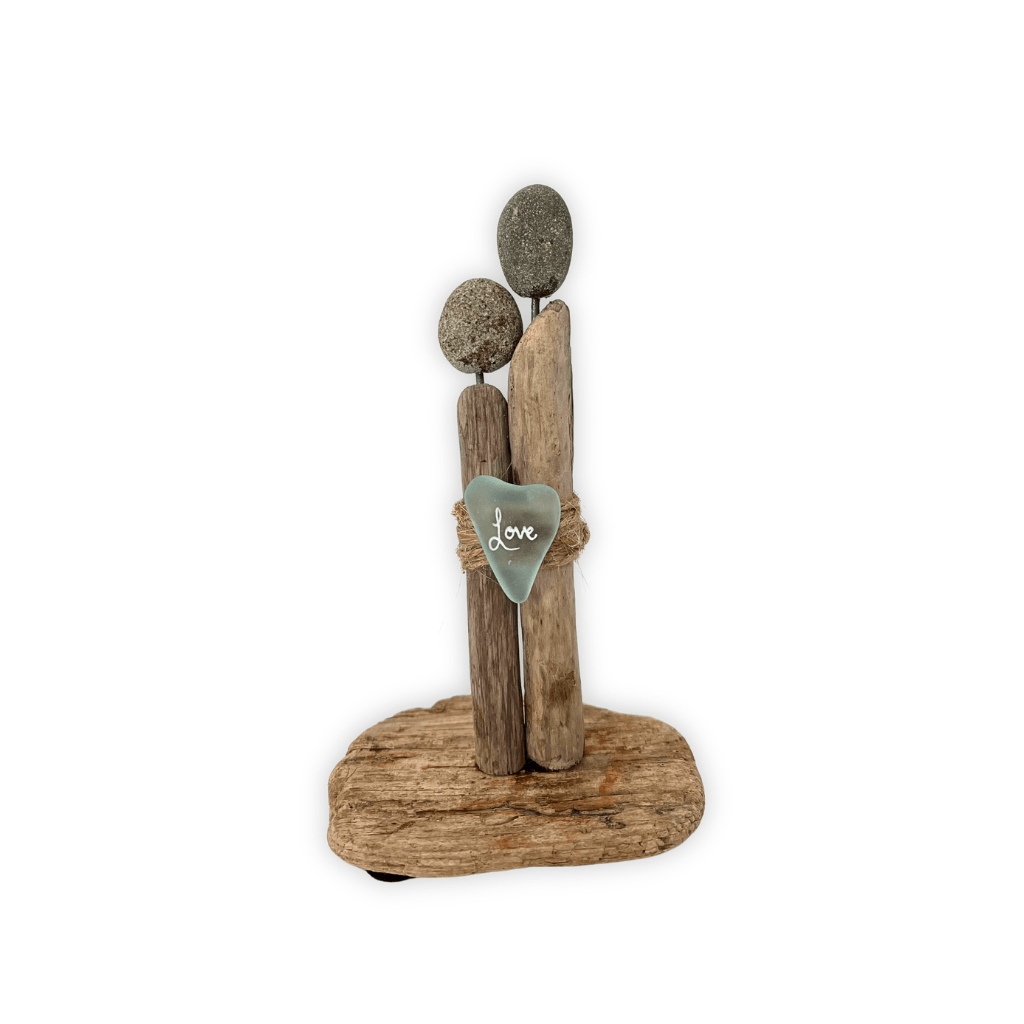
one day, while using a vise to hold something I was drilling with my hand drill, I happened to look over at my Dremel and its flexible shaft attachment. That’s when I had an idea. With the vise holding the stone securely and the Dremel’s small handpiece, I could drill precise holes into stones that wouldn’t simply lie flat.
Now I secure the stone in a vise, spray water onto it with one hand, and drill with the other. I start at a 45-degree angle to get the hole going. Between the drilling and the water, I feel like a dentist! 🤣 My patients are a little harder-headed, but thankfully, they don’t scream.
That discovery changed what I looked for on our river trips.
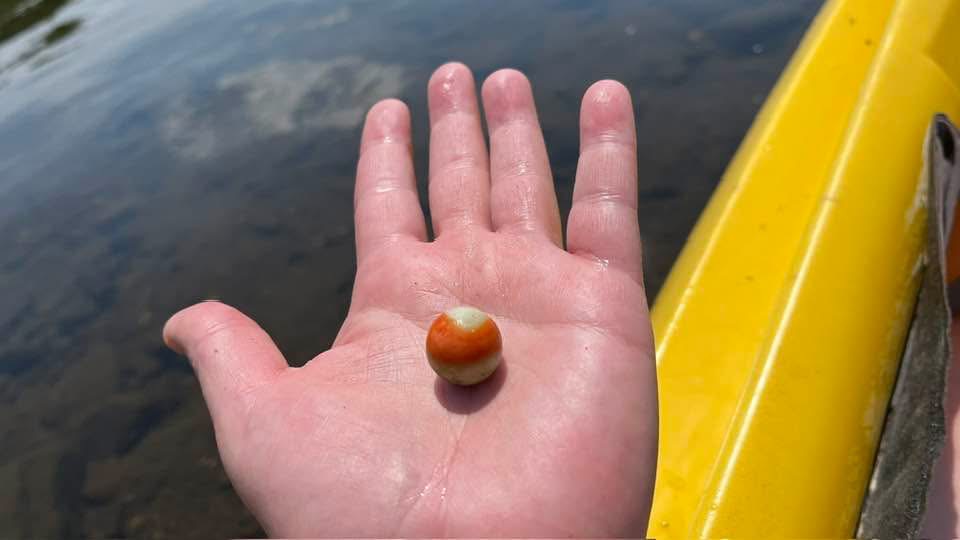
This year, instead of picking up whatever caught my eye, I began searching for heads, bodies, and bases that would fit together.
To join the stones, I cut steel nails to length using a heavy-duty cutter that keeps the metal from flying around the art room and impaling me. The nails become internal steel pins, bonded in place with adhesive.
From the Riverbed to the Worktable
Watch the process right here. And if the steps aren’t numbered correctly in the videos, I didn’t skip anything. I just lost track of the numbers. LOL!
Of course, there’s also the less glamorous part of the process. Protective equipment!
I wear an N95 mask and eye protection while wet drilling, along with appropriate protection when cutting metal. When working with adhesives, I use chemical-resistant gloves and a respirator fitted with cartridges rated for the vapors involved. I apply my protective finishing sprays only outdoors, which means I won’t be making sculptures during the winter months.
Finding the Fit Takes Time
A sculpture takes about five days to complete, although much of that time involves drying and curing. The wet-drilled stones need to dry overnight before I can bond the connections, and the adhesive needs time to cure. Just like glass, some stones break along the way.
For sculptures featuring natural stones, I apply a clear coating to bring out their colors, much like they appear when wet. Once the coating has cured, I apply a protective matte finish to reduce the shine while preserving those beautiful colors. Painted sculptures skip the clear coating but require additional drying time before receiving their final protective finish.
Five-minute epoxy does not mean a five-minute sculpture. If only!
There were plenty of lessons along the way. Some people might call them failures. I prefer to call them experiments. 🤣
After experimenting with different adhesives through the years, I settled on one that gives me more time to work, less anxiety, and, in my testing, a stronger connection. Sometimes I use an epoxy putty for particularly difficult pieces.
Some figures incorporate naturally heart-shaped stones. I leave some natural and paint others to give them a little character.
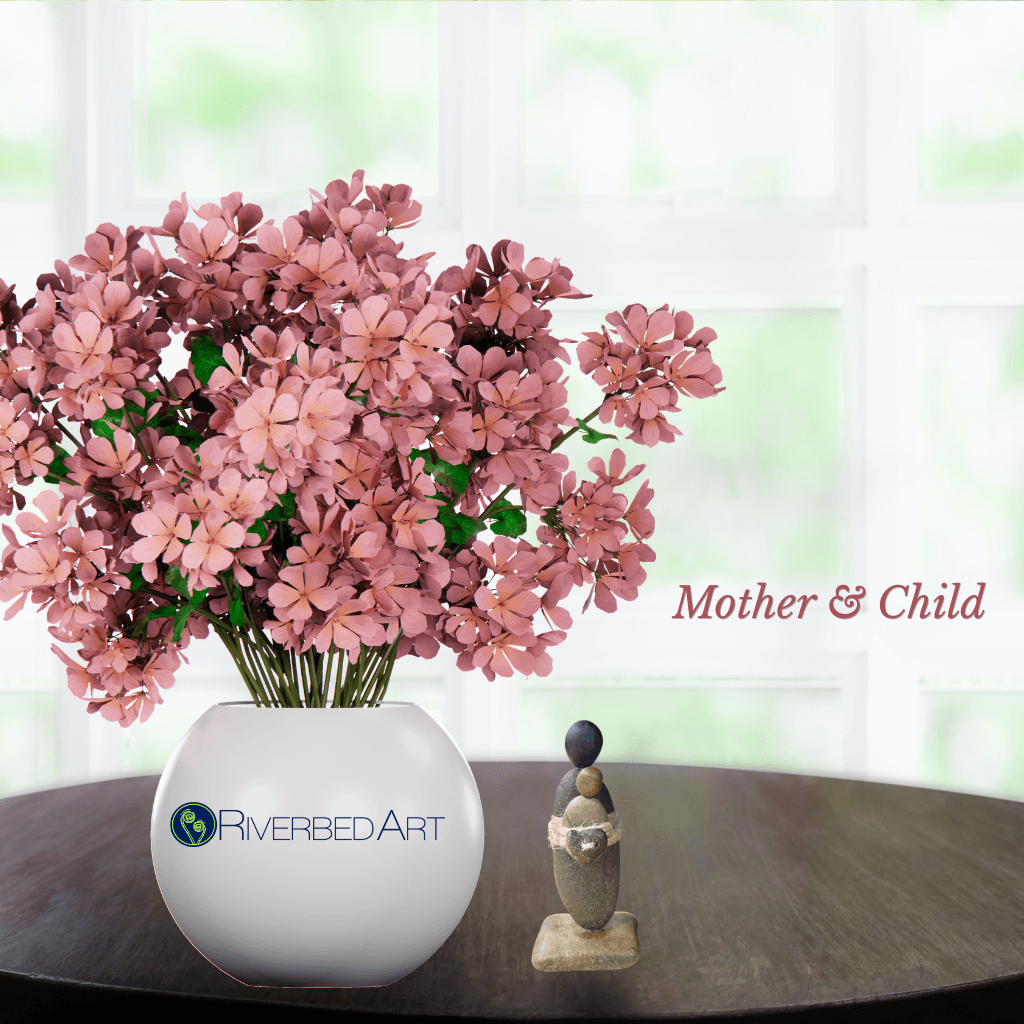
Each finished sculpture is signed and dated, with information about its Aroostook River origins. A few have already found new homes locally.
Boos from Bou
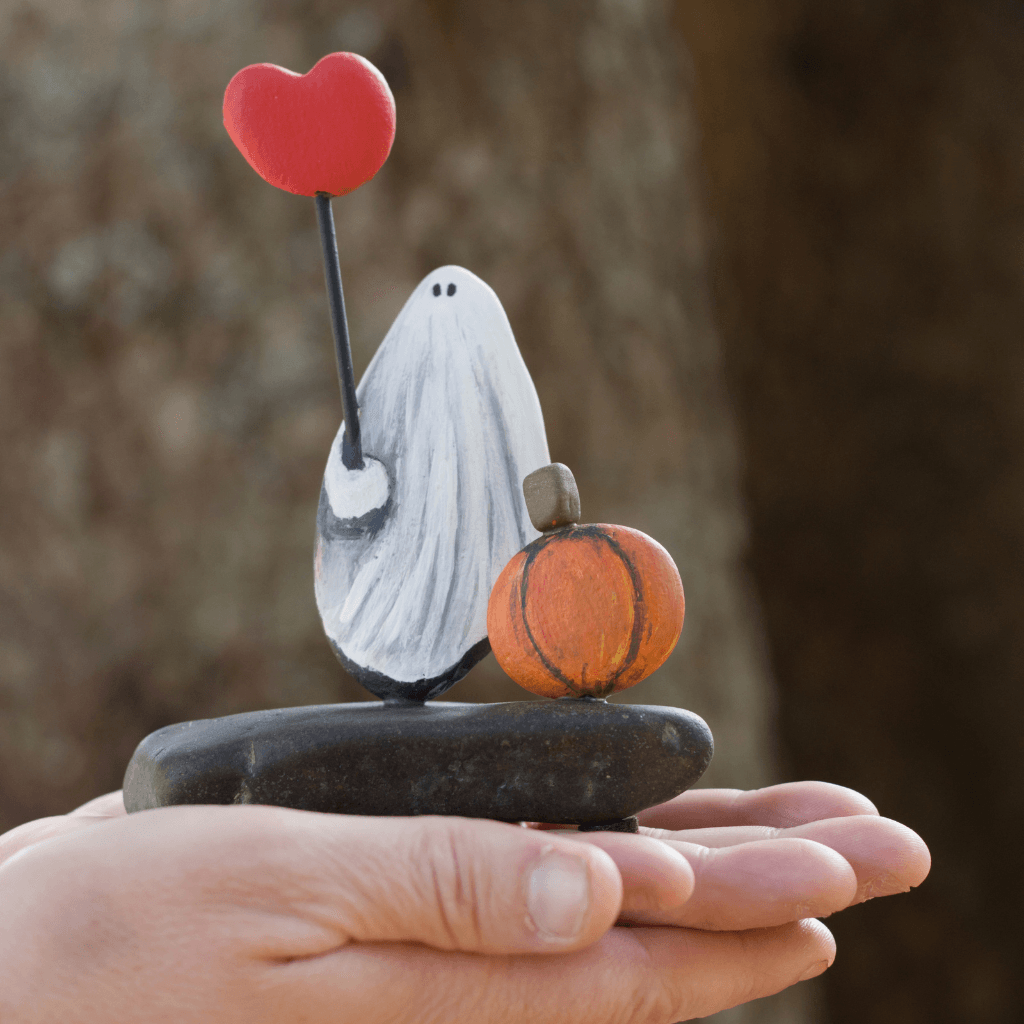
With the connections figured out and Halloween approaching, my imagination wandered toward ghosts and pumpkins. Apparently, even rocks can get into the Halloween spirit!
Boos from Bou is a little nod to Caribou, Maine, where I was born and where the river stones that became these little characters were collected.
One of them, Baby Boo’s Harvest Hoedown, brings me back to my children’s harvest hoedowns. I went to both of theirs, but my baby’s was the last one I attended. Hard to believe that baby just turned 15.
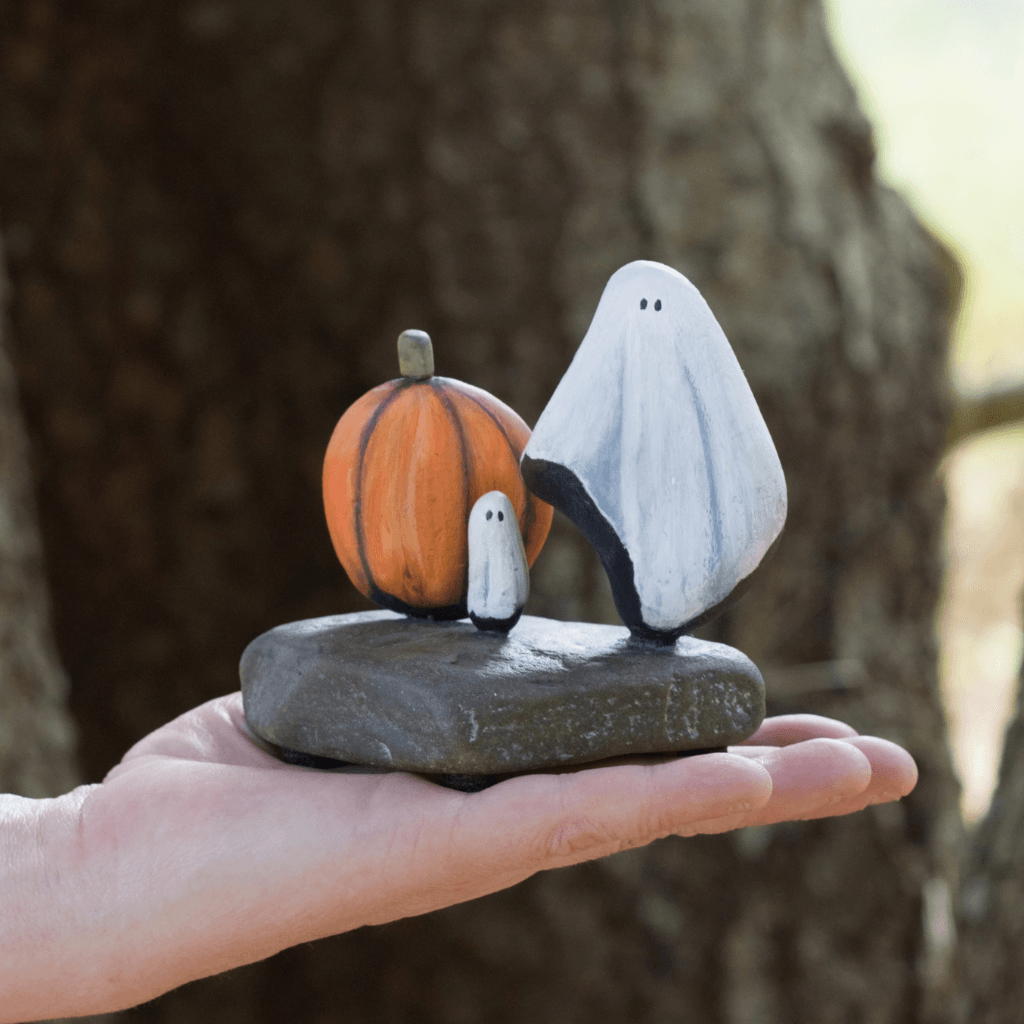
Every sculpture begins with stones and a story. All those years of drawing, woodburning, painting and collecting have become part of what I create today.
Like the river, I keep carrying the past forward.